Basics: Conditional Formatting
Introduction
Conditional Formatting is a tool that highlights cells containing information based on specified conditions. It can be used to highlight, differentiate, or emphasize data among a spreadsheet. The conditional formatting button can be located on the Excel <Home> Toolbar.
Conditional formatting can be used in a variety of ways such as adding highlight rules and applying color scales, data bars and icon sets. Conditional rules can be edited and deleted as well. This is a useful feature that can create visual breaks in data to make it more readable and digestible, highlight important information as they appear in order to effectively prioritize, and bring attention to certain information, such as duplicates or deadlines.
Uses
- If-Then Logic: All conditional formatting rules are based on simple if-then logic: if X criteria is true, then Y formatting will be applied
- Preset Conditions: Excel has a huge library of preset rules encompassing nearly all functions that beginner users will want to apply
- Custom Conditions: For situations where you want to manipulate a preset condition, you can create your own rules. If appropriate, you can use Excel formulas in the rules you write
- Applying Multiple Conditions: You can apply multiple rules to a single cell or range of cells. However, be aware of rule hierarchy and precedence
Examples
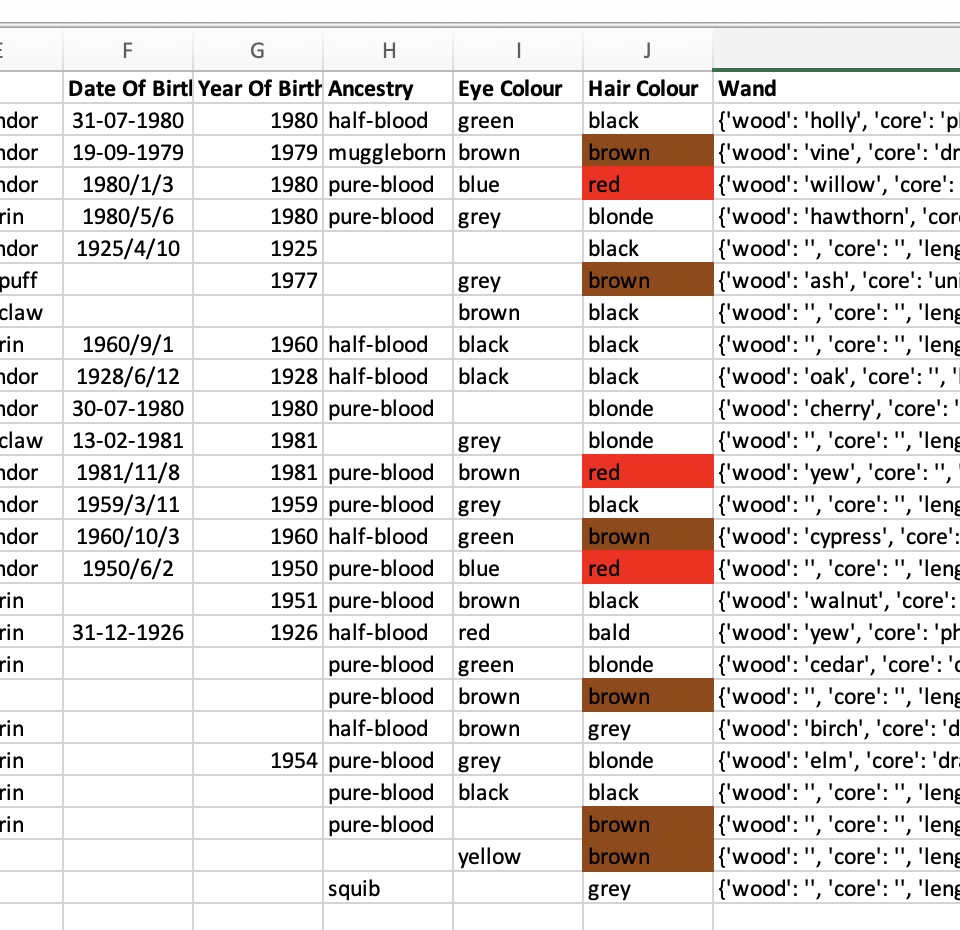
- Conditional formatting for hair color black, brown, red, blonde and grey.
Conclusion
You can use conditional formatting to highlight, differentiate, or emphasize data in a spreadsheet. The features of conditional formatting help to make data more readable and highlight what is most important.